The Complete Used Phone Buying Checklist (GPUX Edition)
One sitting, in order, with the sheet that records it all.
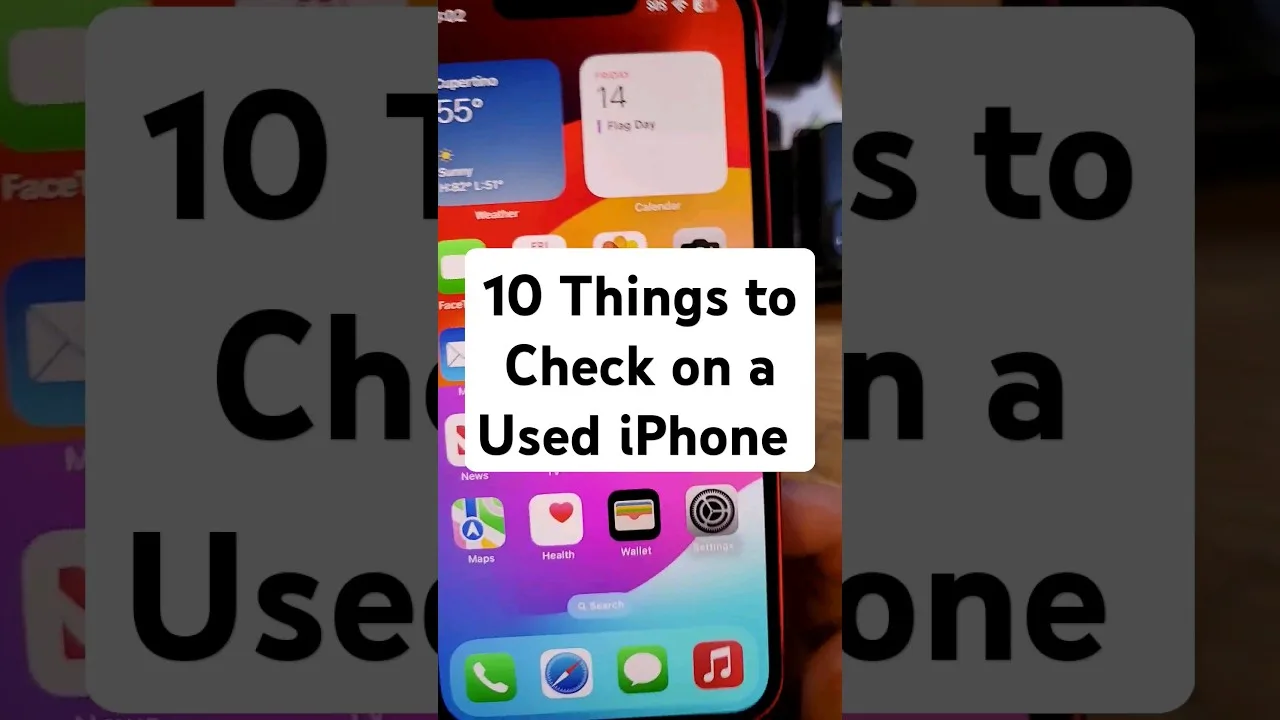
Buying a used phone well is a procedure, not a talent: the same checks, in the same order, recorded the same way, every time. This checklist assembles the whole GPUX used phone checks method into one sitting — identity and spec sheet first, hands-on checks second, battery and charging evidence third, and the decision last — so nothing depends on memory or mood. Each step names its standard briefly and points to the fuller guide in this library where the step deserves study.
Print it, copy it into your notes, or keep this page open during the inspection. The list's value is that it is followed in the noise of a real transaction, when the seller is talking and the phone is being admired.
Allow thirty to forty-five minutes for a phone you seriously intend to buy. It is the cheapest due diligence you will ever perform on a purchase of this size.
Step 1: Identity and the Spec Sheet
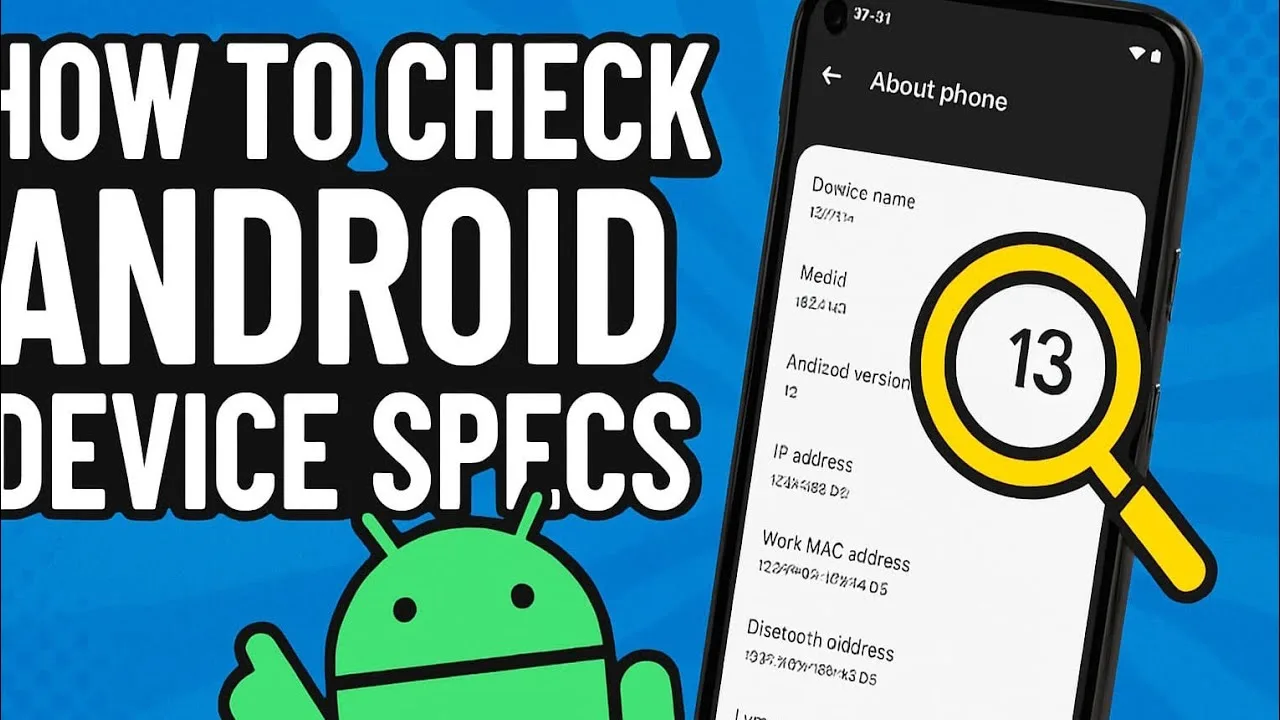
Open the Device screen and verify the phone against its listing: model as reported, Android version and security patch, chipset, RAM, storage. A mismatch between the listing and the phone's own report ends or reprices the transaction before any further time is spent.
Read the sheet for coherence as you go — the fields should agree with the model's known configuration. The method, field by field, is in reading the full spec sheet with GPUX. Record the sheet or export it; it is exhibit one of the file.
Step 2: Display and Touch
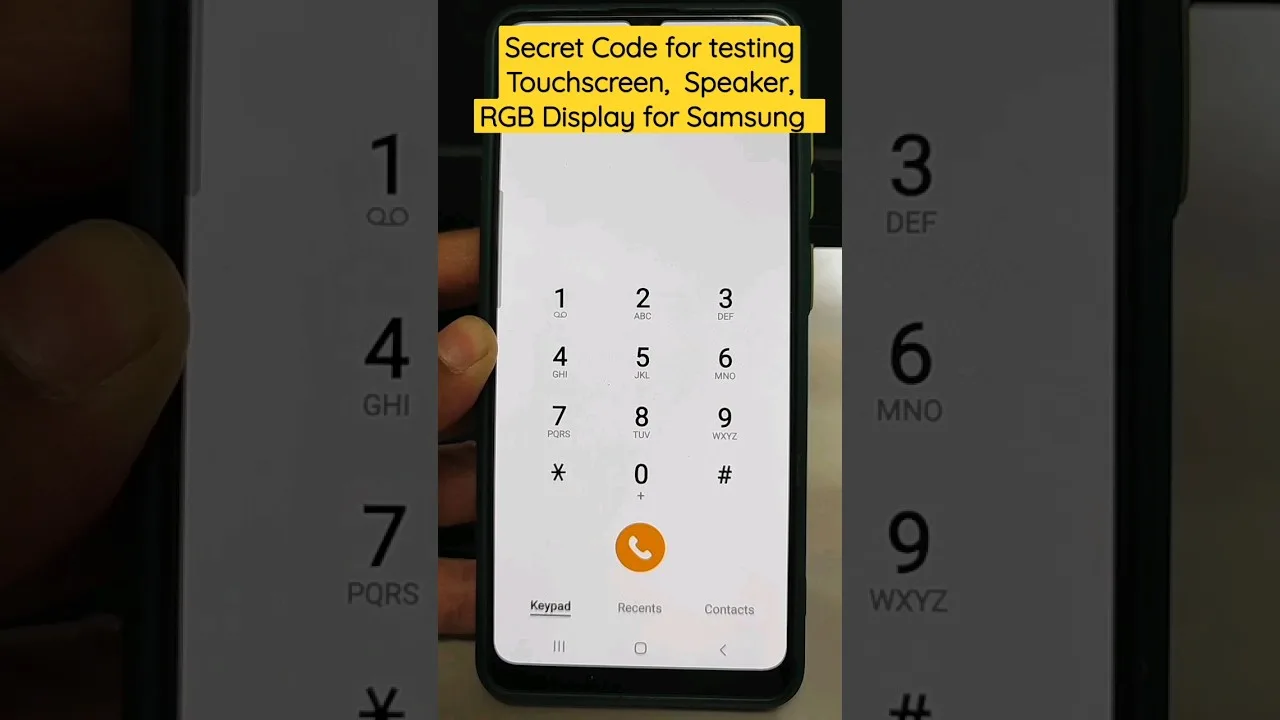
Solid colours at several brightnesses: scan for dead and stuck pixels, uneven backlight, tint, and — on OLED — burn-in ghosts. Then touch: edges and corners first, long diagonals, two-finger gestures, rapid taps.
Mark findings with positions and counts, not adjectives. The full test discipline is in this library's display and touch guide; in the checklist's economy, remember only that the centre of the screen is where faults are not.
Step 3: Cameras, Sound, and the Small Systems
Every lens in turn: focus near and far, a plain wall for spots, text for sharpness, flash in a dim corner, thirty seconds of video. Then speaker and microphone with a recording played back, torch, and vibration's clean feel.
Biometrics with your own enrolment — which also proves the previous owner's can be cleared. The camera method in depth has its own guide in this library; the standard here is simply: every system exercised, every result marked.
Step 4: Sensors and Connectivity
Provoke the senses: tilt for the accelerometer and gyroscope, cover for proximity, bright and dark for the light sensor, a slow turn for the compass. Then the radios: GPS fix outdoors if the setting allows, Wi-Fi seen and joined, Bluetooth paired, the SIM registered and a call held.
Environments excuse what they cause — no GPS verdicts from a basement. Record the setting beside any connectivity finding, and retest in fair conditions before letting one stand.
Step 5: Battery and Charging Evidence
Read the battery data — design and current capacity, cycle count where exposed — with its own guide's cautions: estimates are estimates, unavailable is labelled, a missing cycle count is not zero. Then observe charging itself: registration, status, progress across ten minutes, the port's honesty under gentle movement.
Heat is read with judgement: warm under fast charge is work; hot at a trickle is a warning. A swollen battery — lifted screen, bowed back — ends the inspection and the purchase on the spot.
Step 6: Bench Baseline and Physical Condition
With the phone cool and background apps closed, run Bench once through — twice if comparing two phones — and record the numbers with their conditions. The baseline corroborates the spec sheet (performance in class for the chipset) and occasionally exposes a phone working far below its own paper.
Finish with the physical pass: seams, screws, ports, buttons, lens glass under light, the frame's symmetry. The repair-history reading that ties physical and electronic evidence together is in this library's refurbished-phone guide.
Step 7: The Decision, Written Down
Export the Lab report, gather your marks, and write the decision in one sentence with its reason: bought because, declined because, or repriced because. A sentence that cannot be written means a check was skipped — find which one while the phone is still in front of you.
Price the findings, not the feelings: a priced fault (a worn battery, one dead pixel) is a negotiation; a patterned contradiction (the story and the evidence disagreeing) is a departure. The foundational walk this checklist compresses is how to check a used Android phone with GPUX — the checklist is its field form.
Identity, screen, cameras and sound, senses and radios, battery and charging, baseline and body, decision in a sentence: seven steps, one sitting, no reliance on being clever in the moment. That is the entire advantage of a checklist — it is clever on your behalf, in advance.
Save this list where your phone-buying actually happens. The next listing you inspect will move quickly; the checklist will not let the inspection be hurried out of its order.
A note on temperament to close the list: the checklist works best at walking pace, in order, with the seller watching it happen. A calm, methodical inspection signals a serious buyer, discourages embellishment more effectively than suspicion does, and — not incidentally — gives the seller's own claims the fairest possible hearing, since each is tested by the same instrument in the same order. Procedure is not the opposite of trust; on inspection day, it is the form trust takes.