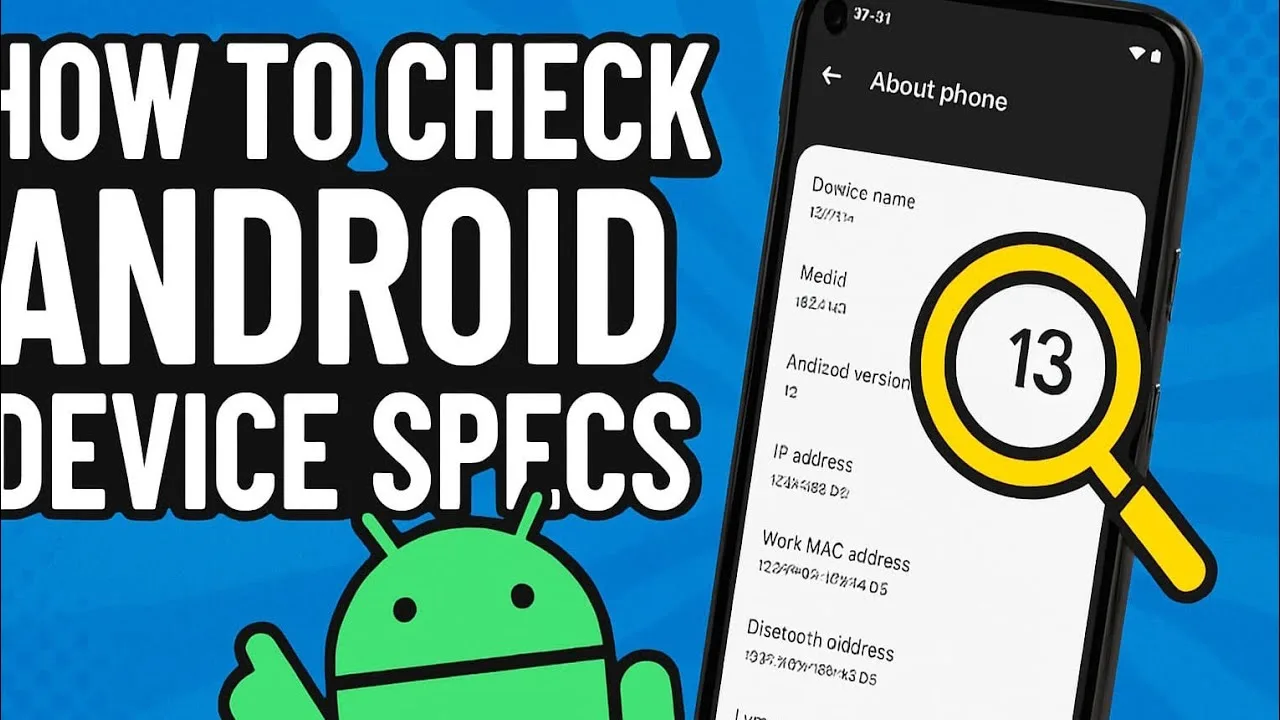
GPUX Inspect Checks Explained: Display, Touch, Sound, Sensors and More
Each check, what it proves, and how to mark it honestly.
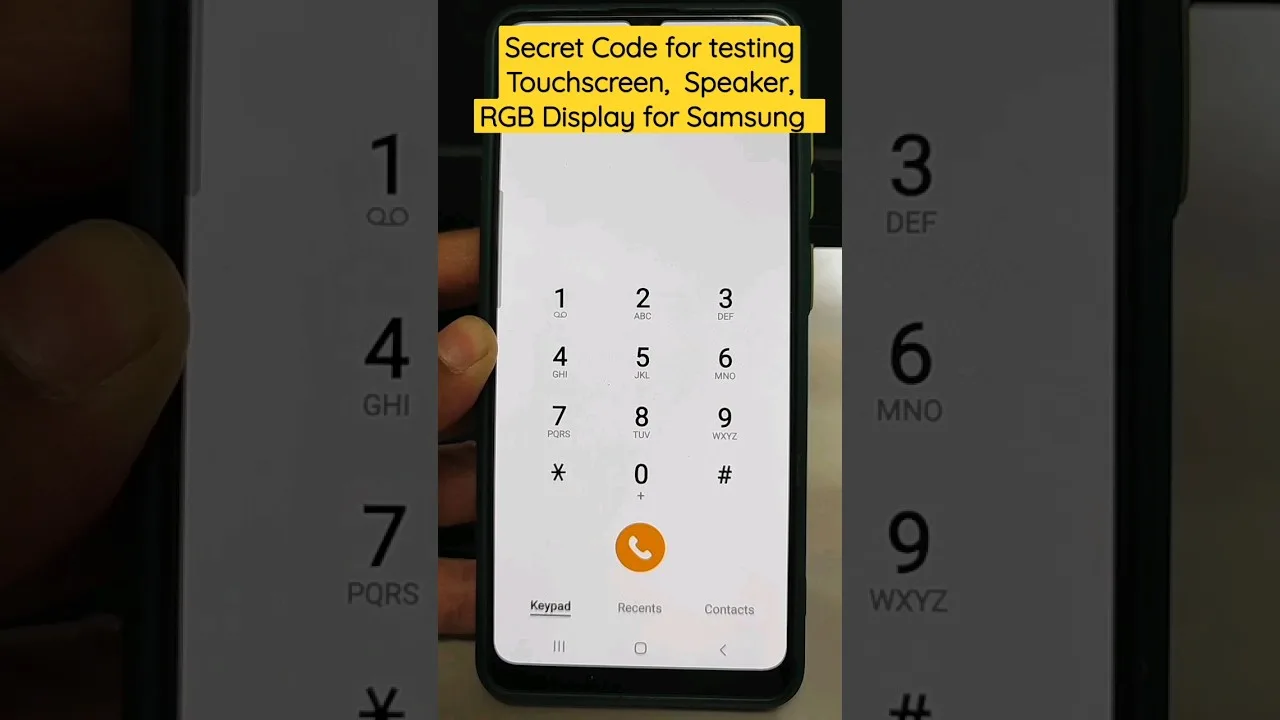
Inspect is the hands-on half of the GPUX inspection toolkit: a guided walk through the phone's working parts — display, touch, sound, microphone, torch, sensors, charging, biometrics, and camera — where each check asks you to observe something real and record what you found. This guide explains every check, what a pass actually proves, what a fail usually means, and how to use the skip and unavailable marks honestly, because an inspection is only as valuable as the accuracy of its marks.
The principle underneath the whole tool is GPUX's standing one: the app presents the test and the evidence; you make the judgement. A check marked pass because you hoped rather than observed is worse than a skip, because a skip is honest.
Run Inspect on your own phone first, where every answer is known. The walkthrough below will read differently — and teach more — with one honest rehearsal behind it.
Display: Dead Pixels, Uniformity, Brightness
The display checks put solid colours and brightness levels on screen so your eyes can catch what specifications cannot report: dead or stuck pixels, uneven backlight, tinting at the edges, and the blotches that reveal a panel's history. Look slowly, at more than one brightness, because some faults only appear at the extremes.
A pass means the panel showed clean, even colour under your inspection — not that it is new. Note marginal findings rather than forcing a verdict: 'one stuck pixel, top corner' in your notes is worth more at negotiation than either a generous pass or a theatrical fail.
Touch: The Whole Surface, Not the Middle
Touch checks ask you to draw or tap across the full surface because digitisers fail at the edges first — the dead strip along a border, the corner that needs a second press. Test the borders and corners with the same care as the centre; sellers demonstrate the centre.
Intermittent touch faults hide from quick tests: work slowly, repeat a doubtful area several times, and distinguish a dirty screen or a screen protector's lifted edge from a failing panel before recording a fail. Evidence discipline is the whole craft here, as it is in GPUX display and touch checks in this library.
Sound and Microphone
The sound checks play tones and test tones through the speaker so you can hear distortion, rattling, or a channel that has gone quiet — damage usually earned through water, dust, or a hard life in a pocket. Listen at moderate volume first; a speaker that only fails at maximum is telling a different story from one that rattles at half.
The microphone check records and plays back your voice, testing the chain a call depends on. Speak at normal distance and volume, and check the playback for muffling — cases, debris in the port, and water damage all sign their work in a muffled recording.
Torch, Vibration, and the Small Motors
The torch check is simple — the light lights or it does not — and worth doing anyway, because the torch shares hardware with the camera flash and its failure can be the first visible symptom of a camera-module problem. Small checks catch big faults early when the systems are related.
Vibration, where tested, should feel clean rather than gritty; a motor that rattles loosely in the frame has often met a floor. None of these small verdicts decides a purchase alone — together they compose the physical biography the spec sheet cannot tell.
Sensors: Watching the Numbers Move
Sensor checks show live readings so you can watch the phone sense the world: tilt it and the accelerometer and gyroscope respond, cover it and the proximity sensor reacts, move it and the light sensor follows the room. A sensor whose numbers never move has failed the only test that matters — it is present in the list and absent in fact.
Judge responsiveness rather than precision: consumer sensors are indicators, not instruments, and a reading that moves plausibly is a pass even if its exact value would not satisfy a laboratory. The deeper reading of sensor evidence has its own guide in this library.
Charging and Biometrics
The charging check confirms the phone registers a charger and the charge state changes as it should — a basic test that catches dead ports, and, combined with a few minutes of observation, ports that connect only at one lucky angle. Wiggle nothing violently; a port that needs force is already reporting its condition.
Biometric checks confirm the fingerprint or face unlock works with your own enrolment during the inspection. On a used phone this also proves the previous owner's biometrics can be cleared and yours set — a security fact as much as a hardware one, and reason enough to run it before money moves. The full sequence these checks belong to is how to check a used Android phone with GPUX.
Camera, and Marking Honestly
Camera checks open each lens the app can reach and ask you to judge focus, noise, and obvious defects — a fuller treatment lives in this library's camera checks guide. Photograph something detailed at arm's length and something plain — a wall — because plain surfaces confess dust, spots, and focus hunting that busy scenes hide.
Finally, the marks themselves: pass for observed working, fail for observed faulty, skip for not tested, unavailable for what the phone cannot expose. Four honest words are the entire reporting system, and their honesty is the inspection's value — to you, to a seller, and to anyone who reads the report later.
Display, touch, sound, microphone, torch, sensors, charging, biometrics, camera — each check small, the sum decisive. Inspect does not judge the phone; it arranges the evidence so your judgement is worth something.
Run the full walk on your own phone tonight and mark it honestly. The rehearsal takes ten minutes, and every future inspection you run will be faster and harder to fool for it.