GPUX Display and Touch Checks: Testing the Screen Properly
Solid colours, full surface, slow eyes: the screen confesses.
The screen is the phone you actually live in — every other component serves it — and it deserves the most careful checks in any inspection. GPUX display checks put the panel through the two examinations that reveal its condition: display checks with solid colours across brightness levels, and touch checks that cover the whole surface rather than its agreeable middle. This guide explains what to look for, fault by fault, and how to distinguish a dying panel from a dirty screen protector.
Work slowly and in decent light. Screen faults are shy: they appear at particular brightnesses, particular colours, and particular corners, and a hurried test certifies a phone the slow one would have caught.
Clean the screen before judging it. More 'display faults' are retired by a microfibre cloth than by any repair shop.
Solid Colours: The Panel's Confession Booth
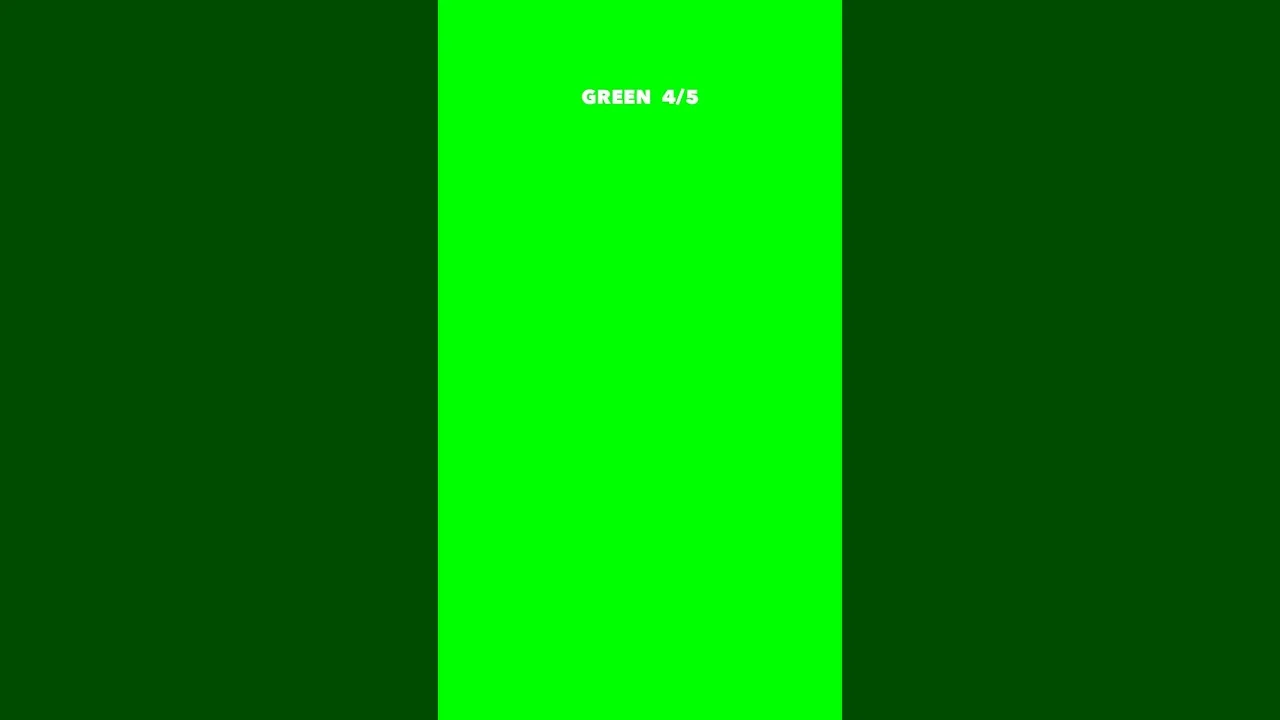
Solid white, black, and the primary colours, each held while you scan the whole surface: this sequence exposes dead pixels (dark on bright colours), stuck pixels (bright on black), uneven backlight (clouding on white, glow at edges on black), and tinting that shifts across the panel.
Change brightness between passes. Some faults live only at maximum brightness, others only at minimum, and a panel clean at both extremes and in the middle has genuinely earned its pass.
Dead and Stuck Pixels, Priced Honestly
A single dead pixel is a blemish; a cluster is a defect; a spreading pattern is a failing panel. Locate and count what you find, and record positions — 'one dead pixel, lower left, visible on white' is evidence, while 'screen has issues' is weather.
On OLED panels, look also for the ghost of a previous life: faint, permanent shadows of keyboards or status bars — burn-in — visible on plain mid-grey or white. Burn-in does not spread, but it does not heal either, and it prices accordingly.
Uniformity, Tint, and the Replacement Question
Judge uniformity like a printer judging a proof: is the white the same white in every corner? Does the tint shift as you tilt? Factory panels are impressively even; replacement panels vary, and unevenness is often the first objective sign that a screen is not the one the phone was born with.
A single finding is a note. Paired with a spec-sheet mismatch, it becomes the repair evidence discussed in signs of a refurbished or repaired phone — which is why display checks are recorded, not just performed.
Touch: Edges and Corners First
Draw slowly along all four edges and into every corner before testing the middle: digitisers fail at the borders first, and the centre is where every seller's demonstration lives. Follow with long diagonal strokes — dropouts mid-stroke reveal dead bands that taps alone would miss.
Repeat a doubtful area several times, with a clean, dry finger. Moisture, a lifting screen protector, and a charging cable's electrical noise can all imitate digitiser faults; change one condition at a time before recording a fail.
Multi-Touch and Gestures
Test two-finger gestures — pinch, spread, two-finger scroll — because multi-touch faults hide from single-finger use entirely: a panel that tracks one finger beautifully and loses the second has a real defect that its next owner, zooming a map, will meet daily.
Gaming and typing stress touch differently again: rapid taps in several places, a fast swipe that should not break into steps. Judge the tracking's smoothness as well as its accuracy — jitter is a finding even when every tap lands.
Brightness Behaviour and Outdoor Truth
Walk the brightness slider end to end: the rise should be smooth, the minimum genuinely dim, the maximum strong enough to argue with daylight. Flicker or steps at low brightness are findings; so is a maximum that looks tired beside any known-good phone.
If automatic brightness is in play, cover and uncover the light sensor and watch the panel respond — the sensor check and the display check corroborate each other, and an inspection is strongest where its evidence agrees.
Recording the Verdict
Mark pass, fail, or note the marginal precisely: what colour, what brightness, what corner, how many pixels. The Inspect framework in the GPUX Inspect checks explained gives you the marks; this guide's contribution is the habit of attaching observations to them, so the report can be re-read in a month and still mean something.
A screen verdict is often the purchase verdict in miniature: the display is the most expensive component to replace and the one you will look at for years. Give it the inspection time its price and prominence deserve.
Solid colours at several brightnesses, edges before centre, two fingers as well as one, and findings recorded in positions and counts: that is a screen tested properly, and few faults survive it unnoticed.
Run the full sequence on your own phone first. Knowing a healthy panel's behaviour by eye is the calibration every later judgement quietly depends on.
One more condition belongs in the record: your own eyes and the room's light are instruments in this test too. Judge a doubtful panel in a second lighting environment before recording the verdict — a tint that vanishes under different light was the room's opinion, not the panel's — and note the environment beside any marginal finding, so a later reader can weight it properly.
Finally, remember what a passed screen has actually proven: that on this day, under this inspection, the panel and digitiser performed as a healthy unit should. That is a strong, honest claim — strong enough to buy on, honest enough to stand behind — and it is exactly the claim the rest of the inspection makes about every other system in the phone.